Adding and editing Document Merge Templates
PERMISSIONS Security level with Admin permission to configure Checklists & Templates. Refer to Admin security settings. To create form templates for users other than yourself, permission to create them for other users. Refer to Form Templates.
NAVIGATION Left Navigation Menu > Admin > Admin Categories > Automation > Checklists & Templates > Document Merge Templates
About document merge templates
The Document Merge feature can be used to pull information from Autotask into pre-existing templates to create sales letters, proposals, cover pages, contracts and follow-up communications. Document merge templates provide the layout and dynamic variables that can be replaced with data from Autotask. Once merged, you are able to modify the document, personalizing it as needed. When you are satisfied with the results, you can then generate a PDF file. The PDF file can be saved outside of Autotask, printed and distributed.
For more information, refer to Creating documents with Document Merge.
- To open the page, use the path(s) in the Security and navigation section above.
- Click New , or select Edit from the context menu of an existing template.
- Complete the fields below.
| Field | Description |
|---|---|
General |
|
| Name | Enter a name for the template. |
| Description | Enter a description. |
| Active | Templates are Active by default, but you may clear this option. You are allowed a maximum of 200 active templates. |
|
Page Size/Layout |
Select the appropriate page size. |
Template Content |
|
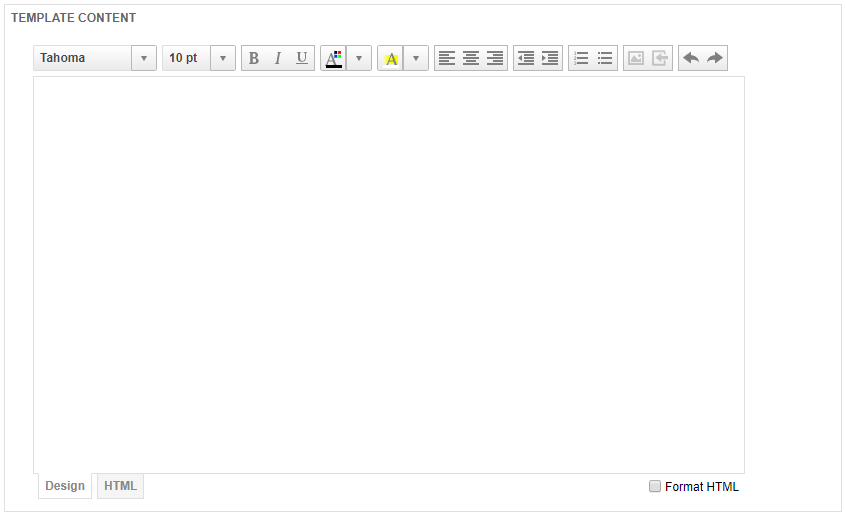
| Template Content | This section is where you create the template, which can be a mix of text, images, and dynamic variables. It uses the HTML editor, which allows you to modify and format text, including the use of fonts, colors, alignment, indentations, bulleted and numbered lists; insert images or variables; and undo or redo your work. For information on working in the HTML editor, refer to The HTML editor. NOTE Use the Miscellaneous variables to insert your logo, organization name, and current date into document templates. |
- To save your work as you go, click Save. When you are done, click Save & Close. To exit without saving, click Cancel.


