Configuring SSO for Azure AD and Entra ID
PERMISSIONS Security level with Admin permission to configure Resources/Users (HR). Refer to Admin security settings.
PERMISSIONS Valid Azure / Entra ID account with Administrator permissions
NAVIGATION Left Navigation Menu > Admin > Admin Categories > Organization Settings & Users > Resources/Users (HR) > Security > Single Sign-On (OpenID Connect (OIDC))
This topic provides vendor-specific information about how to configure the Autotask integration with Microsoft Azure Active Directory. For general instructions, refer to Configuring Single Sign-On (OpenID Connect).
The following steps duplicate the configuration used by our developers to enable successful use of Azure AD and Entra ID with Autotask's Single Sign-On (Open ID Connect). We cannot anticipate every customer's unique Azure AD / Entra ID configurations, or software updates released by Microsoft. If you receive errors after following the configuration steps below, please contact Kaseya Helpdesk.
To configure the integration, Autotask and Azure must be open at the same time, and you must be logged in to both Autotask and portal.azure.com or https://entra.microsoft.com as an administrator.
To configure single sign-on for Azure AD / Entra ID, do the following:
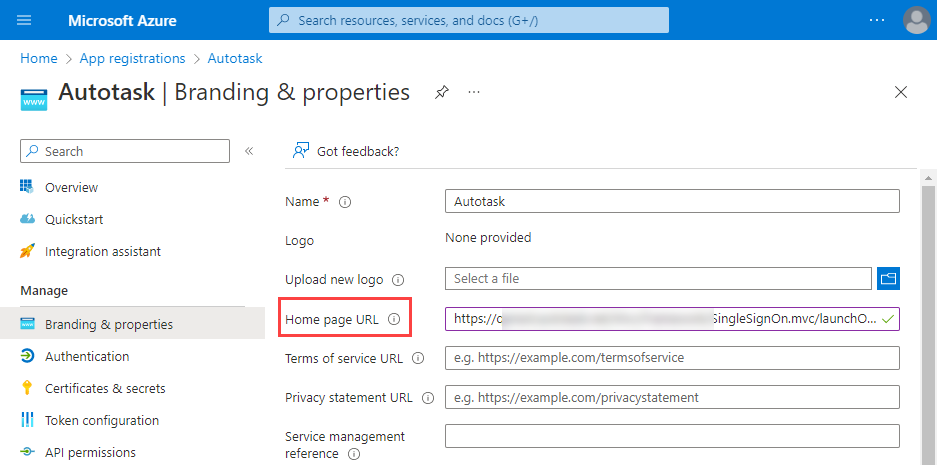
To register the Autotask integration in Azure / Entra ID, do the following:
- Navigate to App registrations. Refer to Navigating to the App registration page.
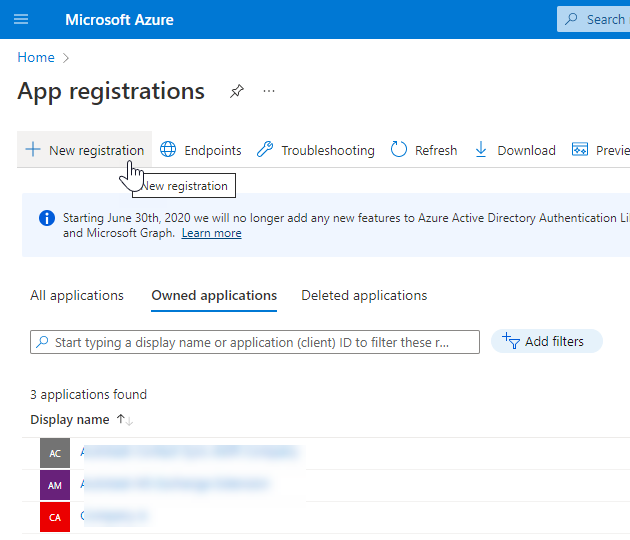
- Click New Registration. The Register an App page will open.
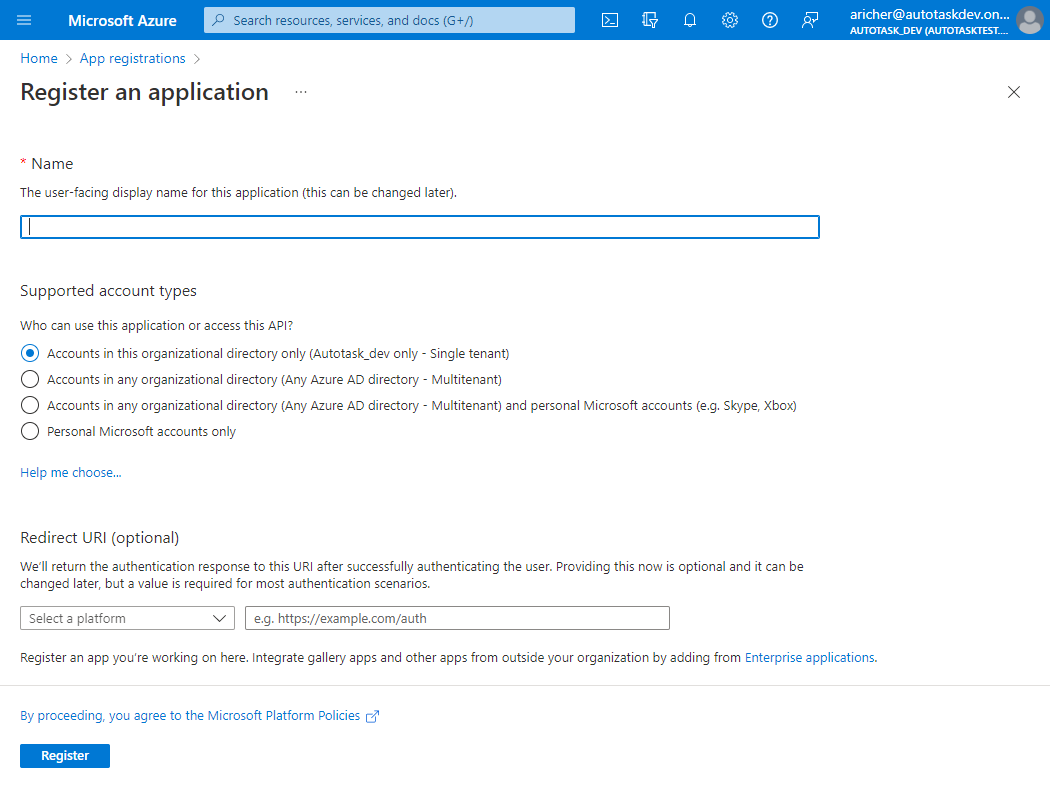
- Complete the following fields:
| Field | Description |
|---|---|
|
Name |
Enter the user-facing name for this application, for example "Autotask." |
|
Supported account types |
Your selection here will determine who can use this application. If you are unsure, select Accounts in this organizational directory only. |
|
Redirect URI (optional) |
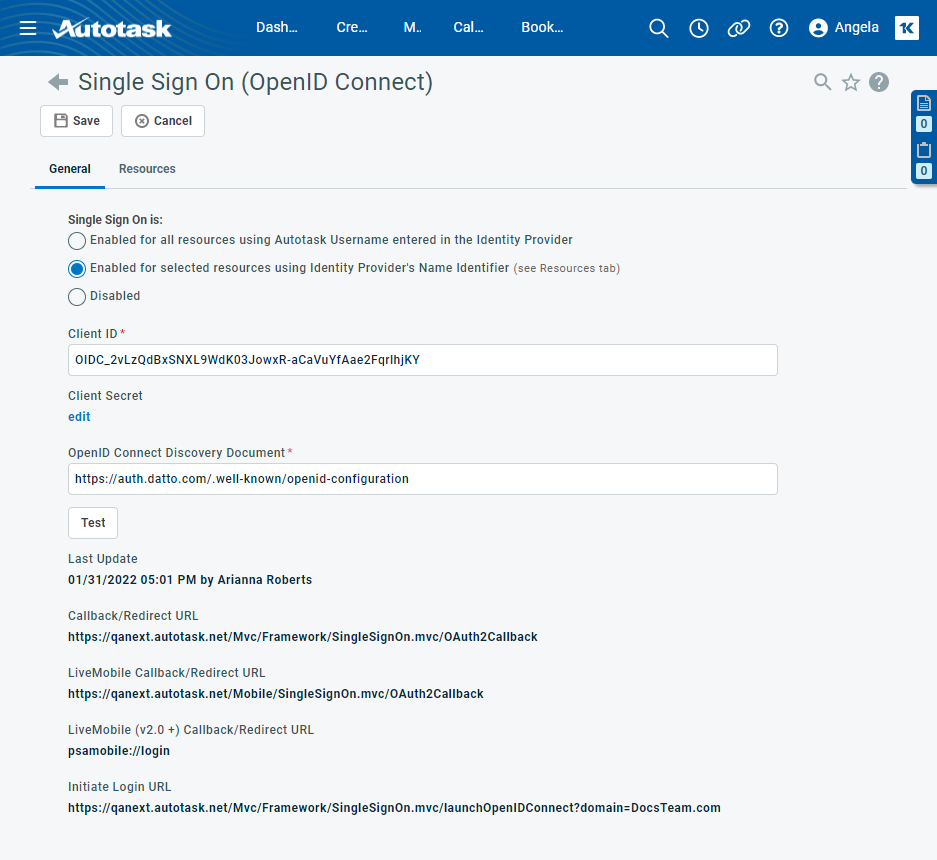
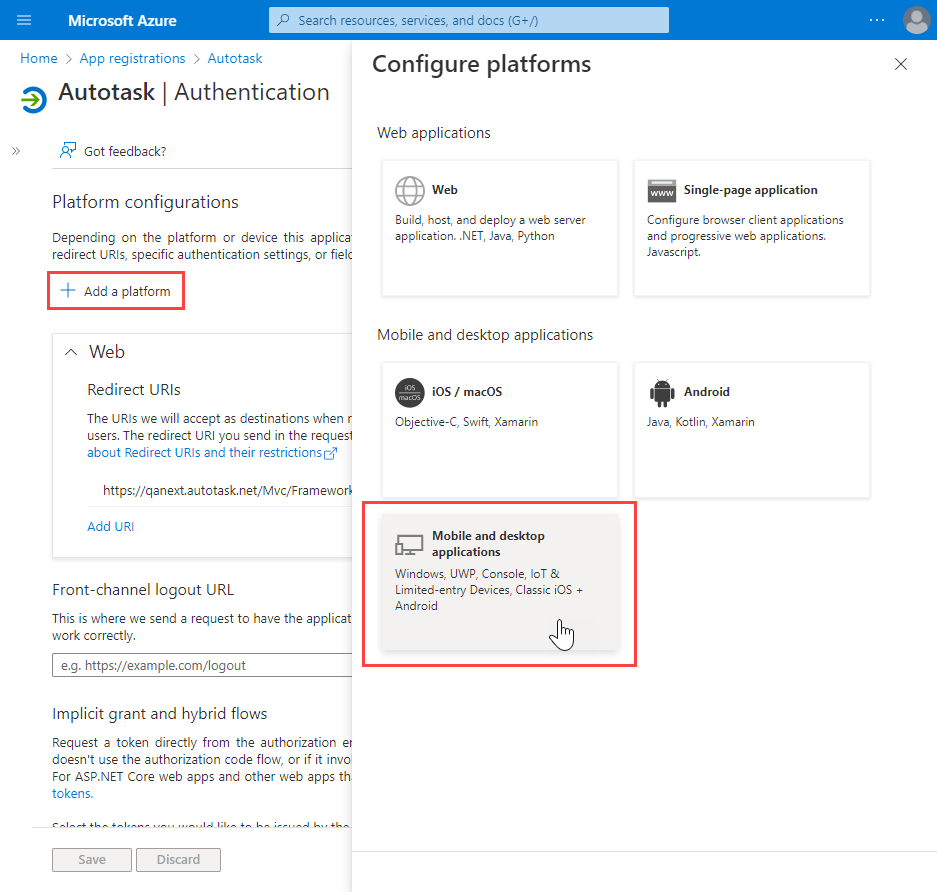
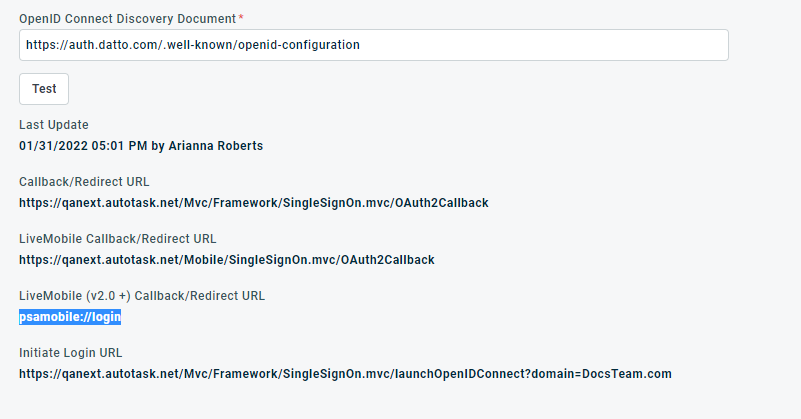
Toggle to the Autotask Single Sign On (OpenID Connect) page and copy the URL in the Callback/Redirect URL field. Toggle back to Azure, select Web as the platform, and paste the field value into the second field. |
- Click Register. A dialog will pop up to let you know that you successfully created the app, and the page for the new app will open.
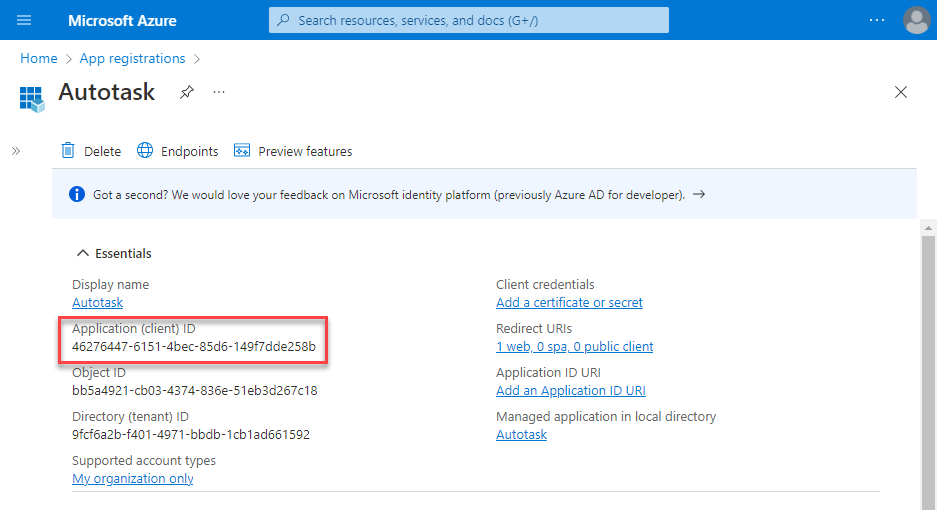
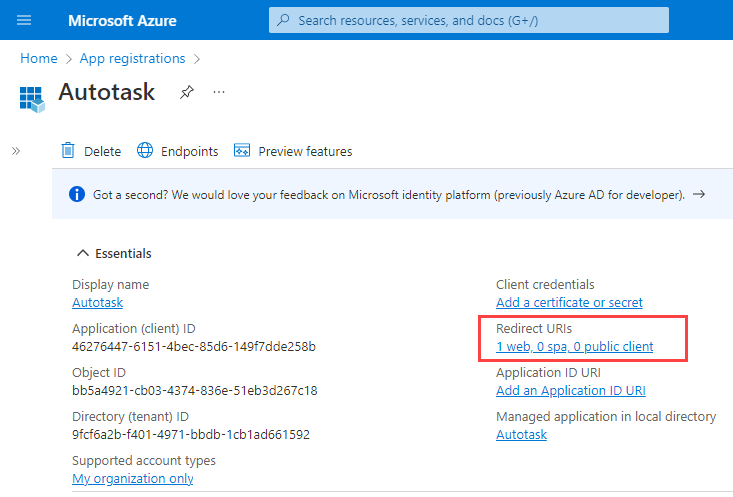
- Right below the Display name, you will see the Application (client) ID and Directory (tenant) ID.
Save your settings in both applications.
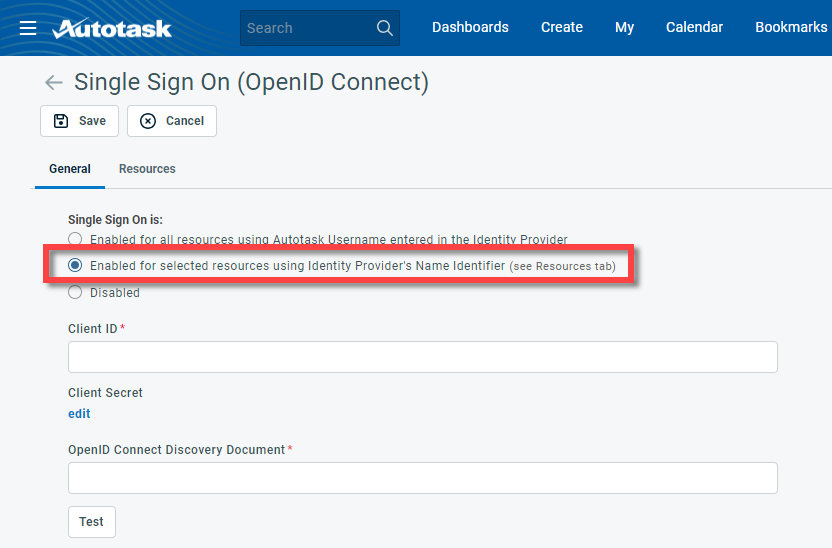
IMPORTANT Since Azure AD and Entra ID do not support exposing custom attributes via OpenID Connect (i.e. setting the autotaskusername value for a user within the IdP), in Autotask, Azure AD and Entra ID clients must use the Enabled for selected resources using Identity Provider's Name Identifier option, where the user's unique ID from the IdP is set on the Autotask SSO page.
To map the user's unique ID from the IdP to the Autotask resource, complete the following steps:
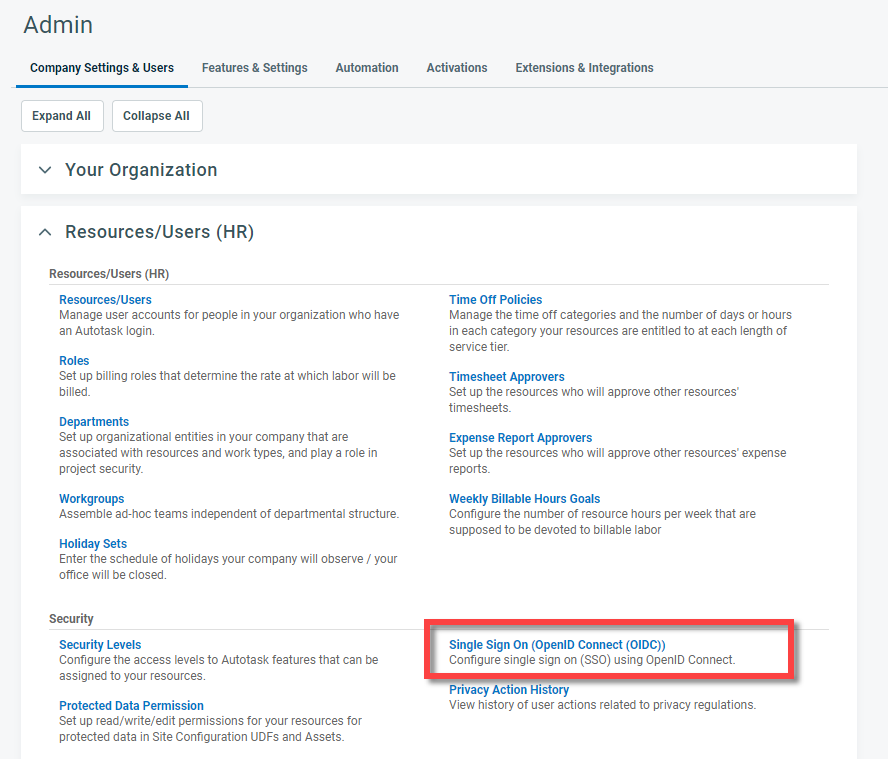
- Open the Left Navigation Menu > Admin > Admin Categories > Organization Settings & Users > Resources/Users (HR) > Security > Single Sign-On (OpenID Connect (OIDC)) page.
- On the General tab, under Single Sign-on is:, select Enabled for selected resources using Identity Provider's Name Identifier. This makes the Resources tab available for selection.
- Click the Resources tab.
- Log in to portal.azure.com or https://entra.microsoft.com and navigate to Azure Active Directory > Manage > Users or Microsoft Entra admin center > Identity > Users.
- Click the name of the user you wish to map. The profile page will open.
- Copy the Object ID.

- Switch to Autotask and select the check box next to the resource name. Paste the value into the Unique ID field in Autotask.
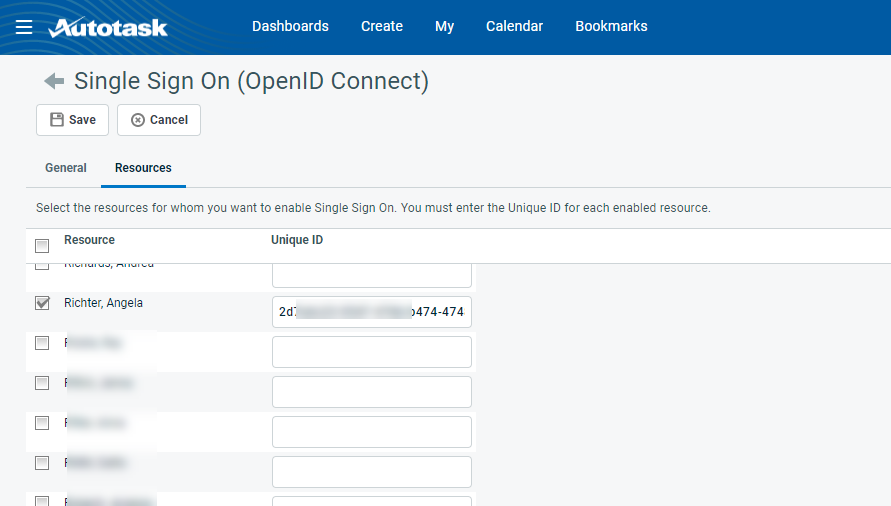
- Repeat steps 1 - 7 for each resource.
